
Roof Flashing & Pipe Boot Repair Ballwin, MO
Many roof leaks begin where shingles meet something else. A plumbing pipe, chimney, wall, valley, vent, or roof edge interrupts the flat shingle field and needs a detail that moves water around the transition. C&D General Contractors repairs flashing and pipe boot problems by tracing the leak path and rebuilding the connection, not just adding another exposed bead of sealant.
Ballwin roofs often include masonry chimneys, additions, vent penetrations, long valleys, and siding-to-roof intersections. Temperature movement, old repairs, storm impact, and normal material aging can open those details over time. C&D checks the transition above the stain as well as the surrounding roof so the repair is tied into a working water path.
What A Proper Flashing Or Pipe Boot Repair Should Correct
The repair should address the actual joint where water is entering. That may mean lifting surrounding shingles, replacing a deteriorated boot, resetting step flashing, rebuilding counterflashing, correcting a valley transition, or repairing underlayment and decking that stayed wet below the leak. Sealant may be part of a detail, but it should not substitute for missing or poorly integrated flashing.
C&D looks at how water reaches the area before deciding what to remove. A pipe leak often follows the downhill side of the penetration, while chimney and wall leaks can travel behind siding, masonry, or shingles before showing indoors. The repair is built around that path so the finished roof can shed water without relying on a temporary smear over the joint.
One Team For Roofing, Masonry, Siding, And Drainage Connections
Flashing sits at the boundary between trades. Chimney metal meets masonry. Step flashing meets siding. Drip edge meets fascia and gutters. Pipe boots cut through the roof field. C&D works across exterior systems, which helps when the leak cannot be solved by replacing shingles alone.
Different Roof Transitions Need Different Water-Shedding Details
A pipe boot, chimney, sidewall, valley, and roof edge do not fail in the same way. C&D identifies the type of transition and rebuilds the local layers so runoff is directed past the joint instead of under it.
Pipe Boot And Plumbing Vent Repair
Cracked collars, deteriorated rubber, loose metal, failed seals, and damaged surrounding shingles are checked together around plumbing penetrations.
Chimney Flashing Repair
Step flashing, counterflashing, cricket or upslope drainage conditions, masonry joints, and the surrounding roof surface are reviewed around chimney leaks.
Rebuild The Transition So Water Exits On Top
Flashing works by layering materials so each higher piece sheds onto the layer below. C&D exposes enough of the transition to restore that overlap, check the deck beneath, and tie the repair into surrounding shingles, siding, or masonry without leaving a hidden reverse lap.
Sidewall And Headwall Flashing
Where roofing meets siding or another vertical wall, flashing must direct runoff out over the roof surface while staying integrated with the wall covering.
Valley And Edge Metal Repair
Valleys, drip edge, and lower roof transitions are checked when leaks or runoff problems appear where concentrated water meets metal details.
Interior Stains Often Appear Downhill From The Actual Opening
Water can enter beside a pipe, behind step flashing, above a chimney, or along a valley and then travel across decking or framing before it reaches the ceiling. C&D uses the location, roof geometry, and condition of the transition to narrow the source before removing materials.
- Note whether the stain appears below a pipe, chimney, sidewall, valley, or roof edge, but expect the actual entry point to be higher than the interior mark.
- Look for cracked pipe collars, lifted shingles around penetrations, loose flashing edges, deteriorated sealant, or metal that has pulled away from masonry.
- Check attic surfaces during or after rain when accessible, because darkened sheathing or a water track can help connect the interior symptom to the exterior detail.
- Watch gutters and roof edges for overflow that can wet fascia and lower decking, since a drainage problem can mimic or worsen a flashing leak.
Ballwin Flashing & Pipe Boot Repair Checker
Choose the transition closest to the leak. The result highlights which layers C&D should inspect before the repair is opened.
The Repair Has To Reconnect Roofing, Metal, Underlayment, And Deck
A transition repair works when each material overlaps in the right direction. The finished shingles, flashing or boot, secondary water barrier, and roof deck all need to be checked so the repair can move runoff outward while protecting the opening through the roof.
- Lift or remove enough surrounding roofing to see how the existing flashing or boot is integrated instead of trying to diagnose the joint from the exposed edge alone.
- Replace cracked, corroded, distorted, or poorly fitted flashing and penetration components that cannot reliably redirect water around the opening.
- Restore underlayment or self-adhered protection where the repair exposes vulnerable deck areas around walls, valleys, chimneys, or roof penetrations.
- Inspect nearby sheathing for staining, softness, delamination, or fastener damage when the leak has been active long enough to reach the substrate.
- Reinstall surrounding shingles or roof material so laps, nail locations, and cut edges do not create a new path for water beside the repaired flashing.
Four Details Where A Small Opening Can Create A Persistent Leak
Ballwin homes often combine plumbing penetrations, brick chimneys, siding walls, additions, valleys, and long eaves. These are places where water changes direction, and they deserve more attention than a quick surface seal when a leak keeps returning.
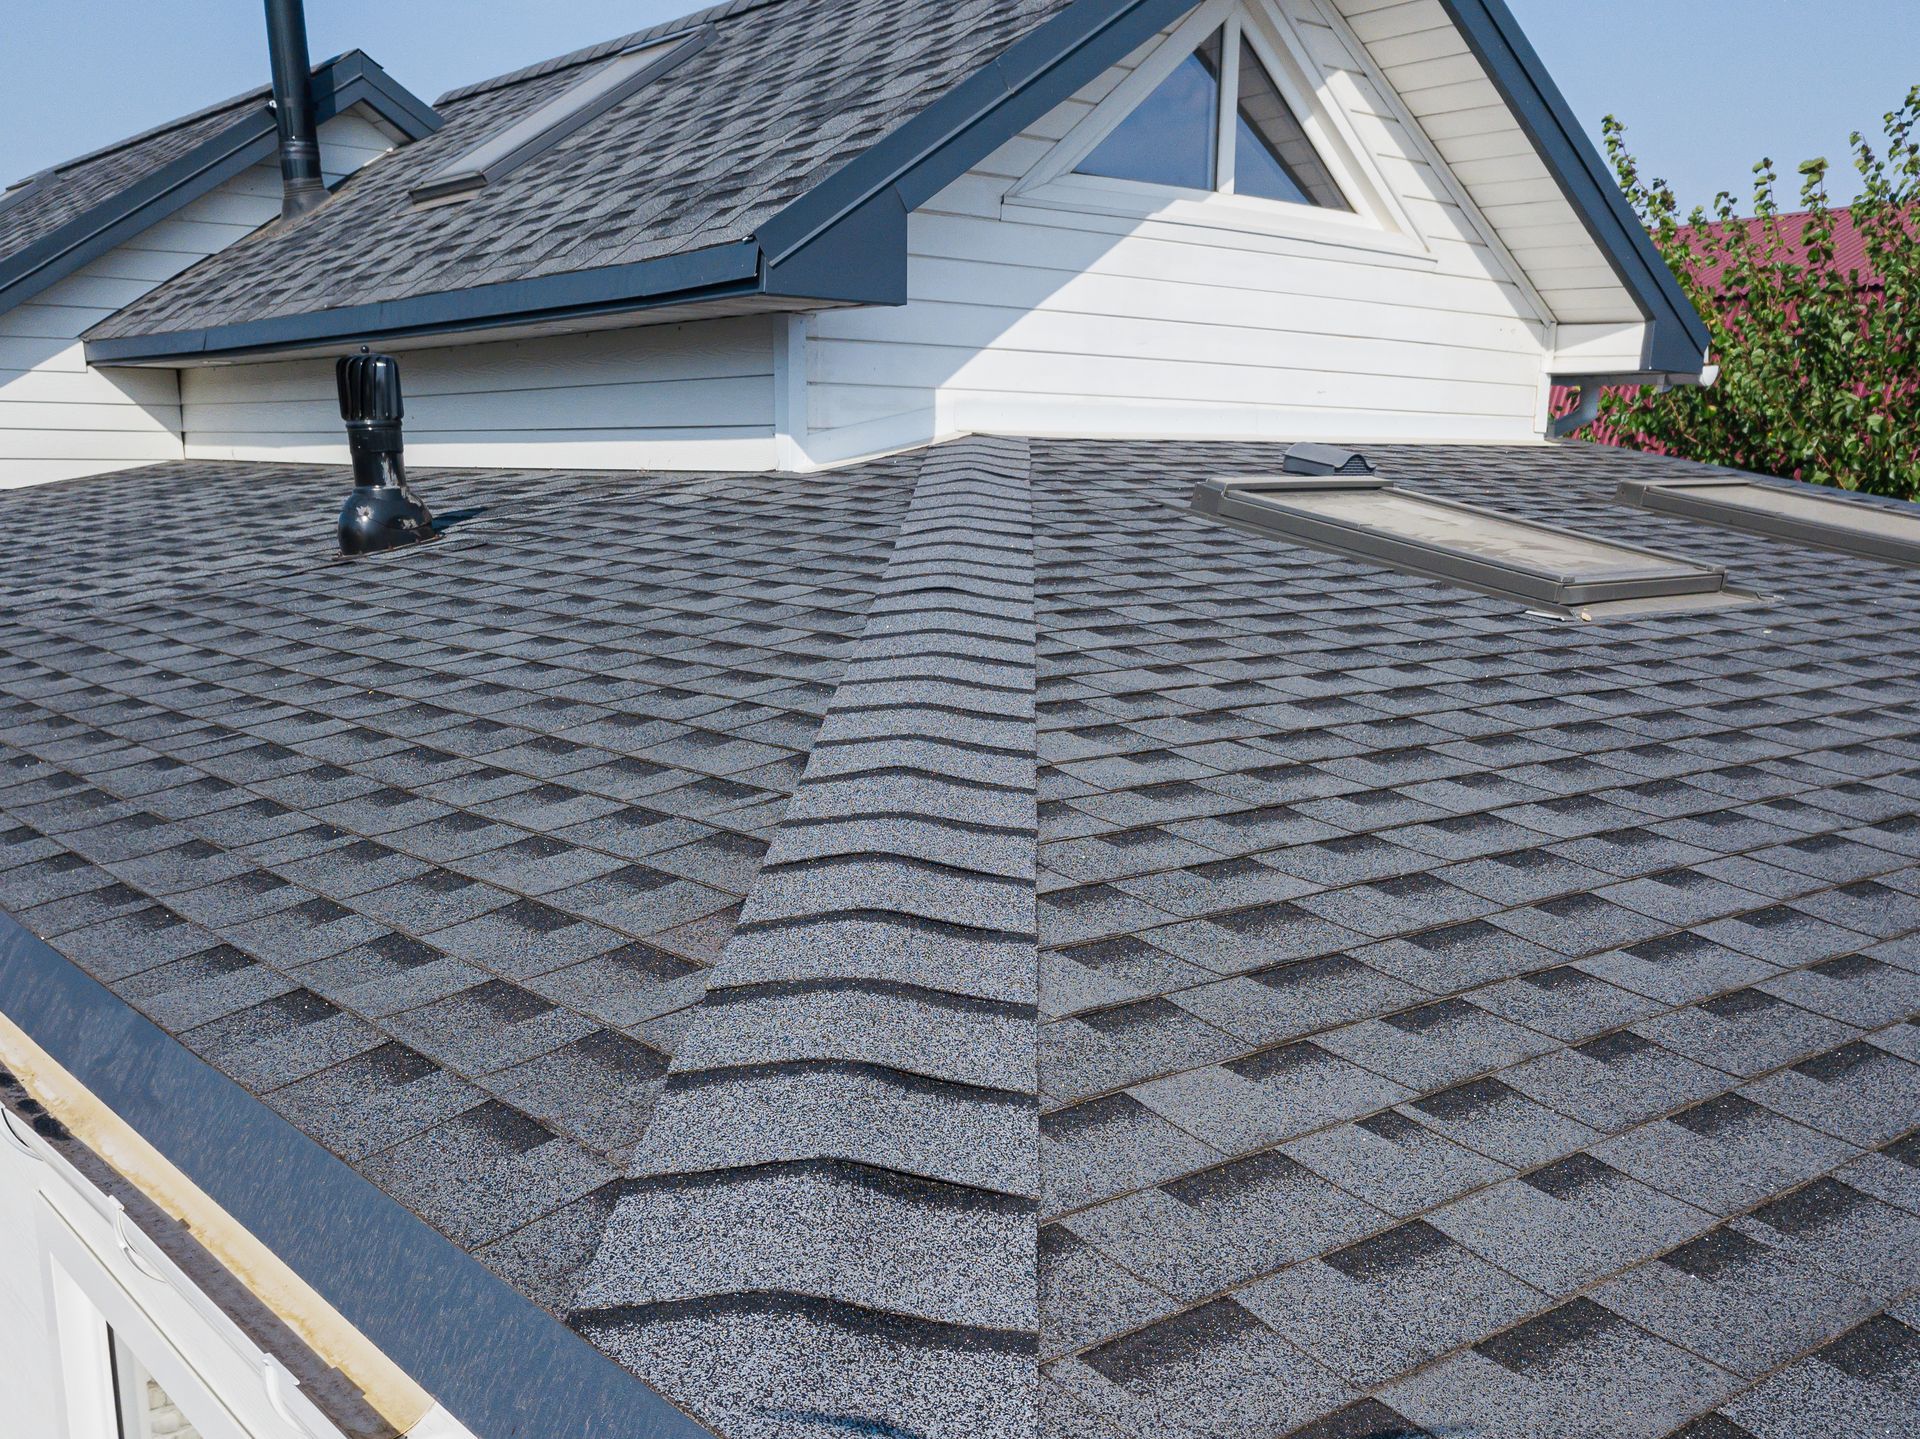
Pipe Boots And Vent Stacks
The collar, flange, surrounding shingles, fasteners, and deck around the penetration are checked for cracking, movement, or a failed water lap.
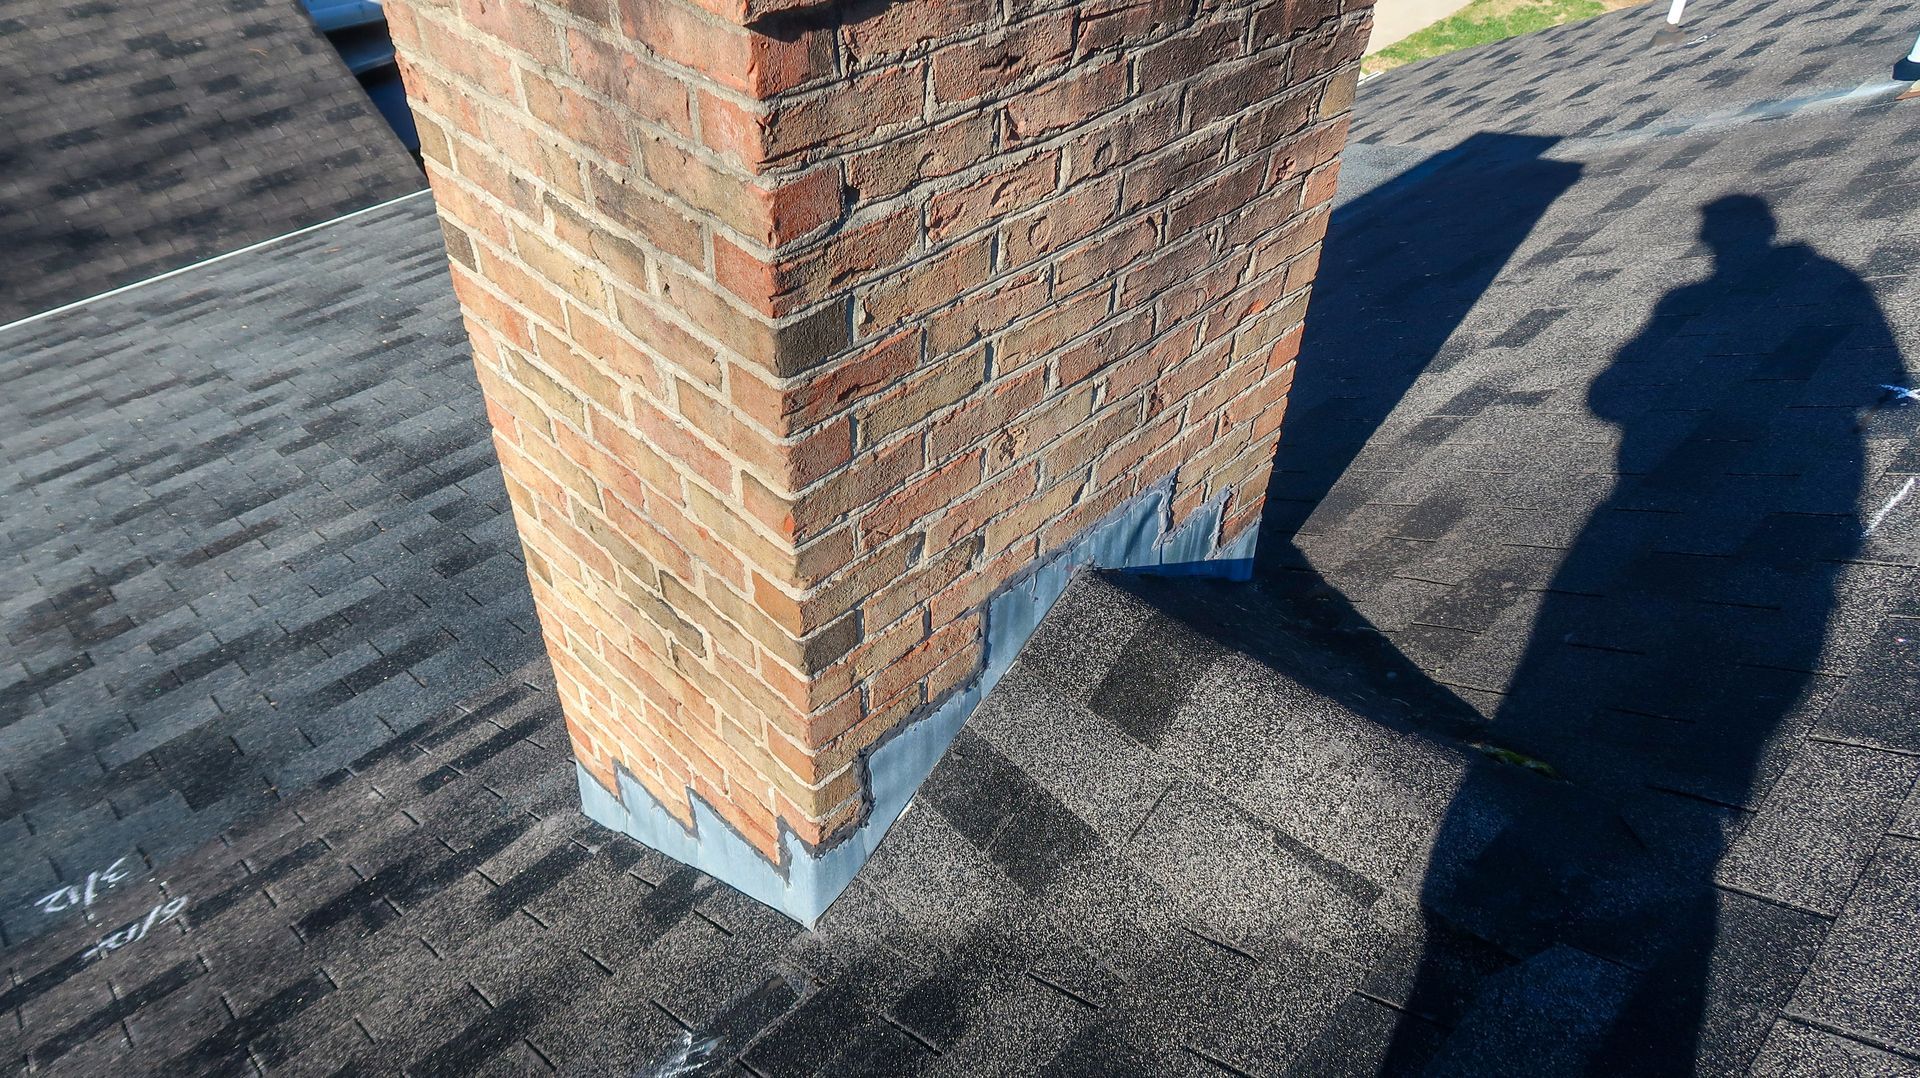
Chimney Step And Counterflashing
Roof-side metal and masonry-side counterflashing need to work together so water is directed onto the shingles instead of behind the chimney joint.

Sidewalls And Addition Tie-Ins
Step flashing should be layered with each shingle course and integrated with the wall covering where roofs meet dormers, additions, or taller walls.
Valleys, Eaves And Drip Edge
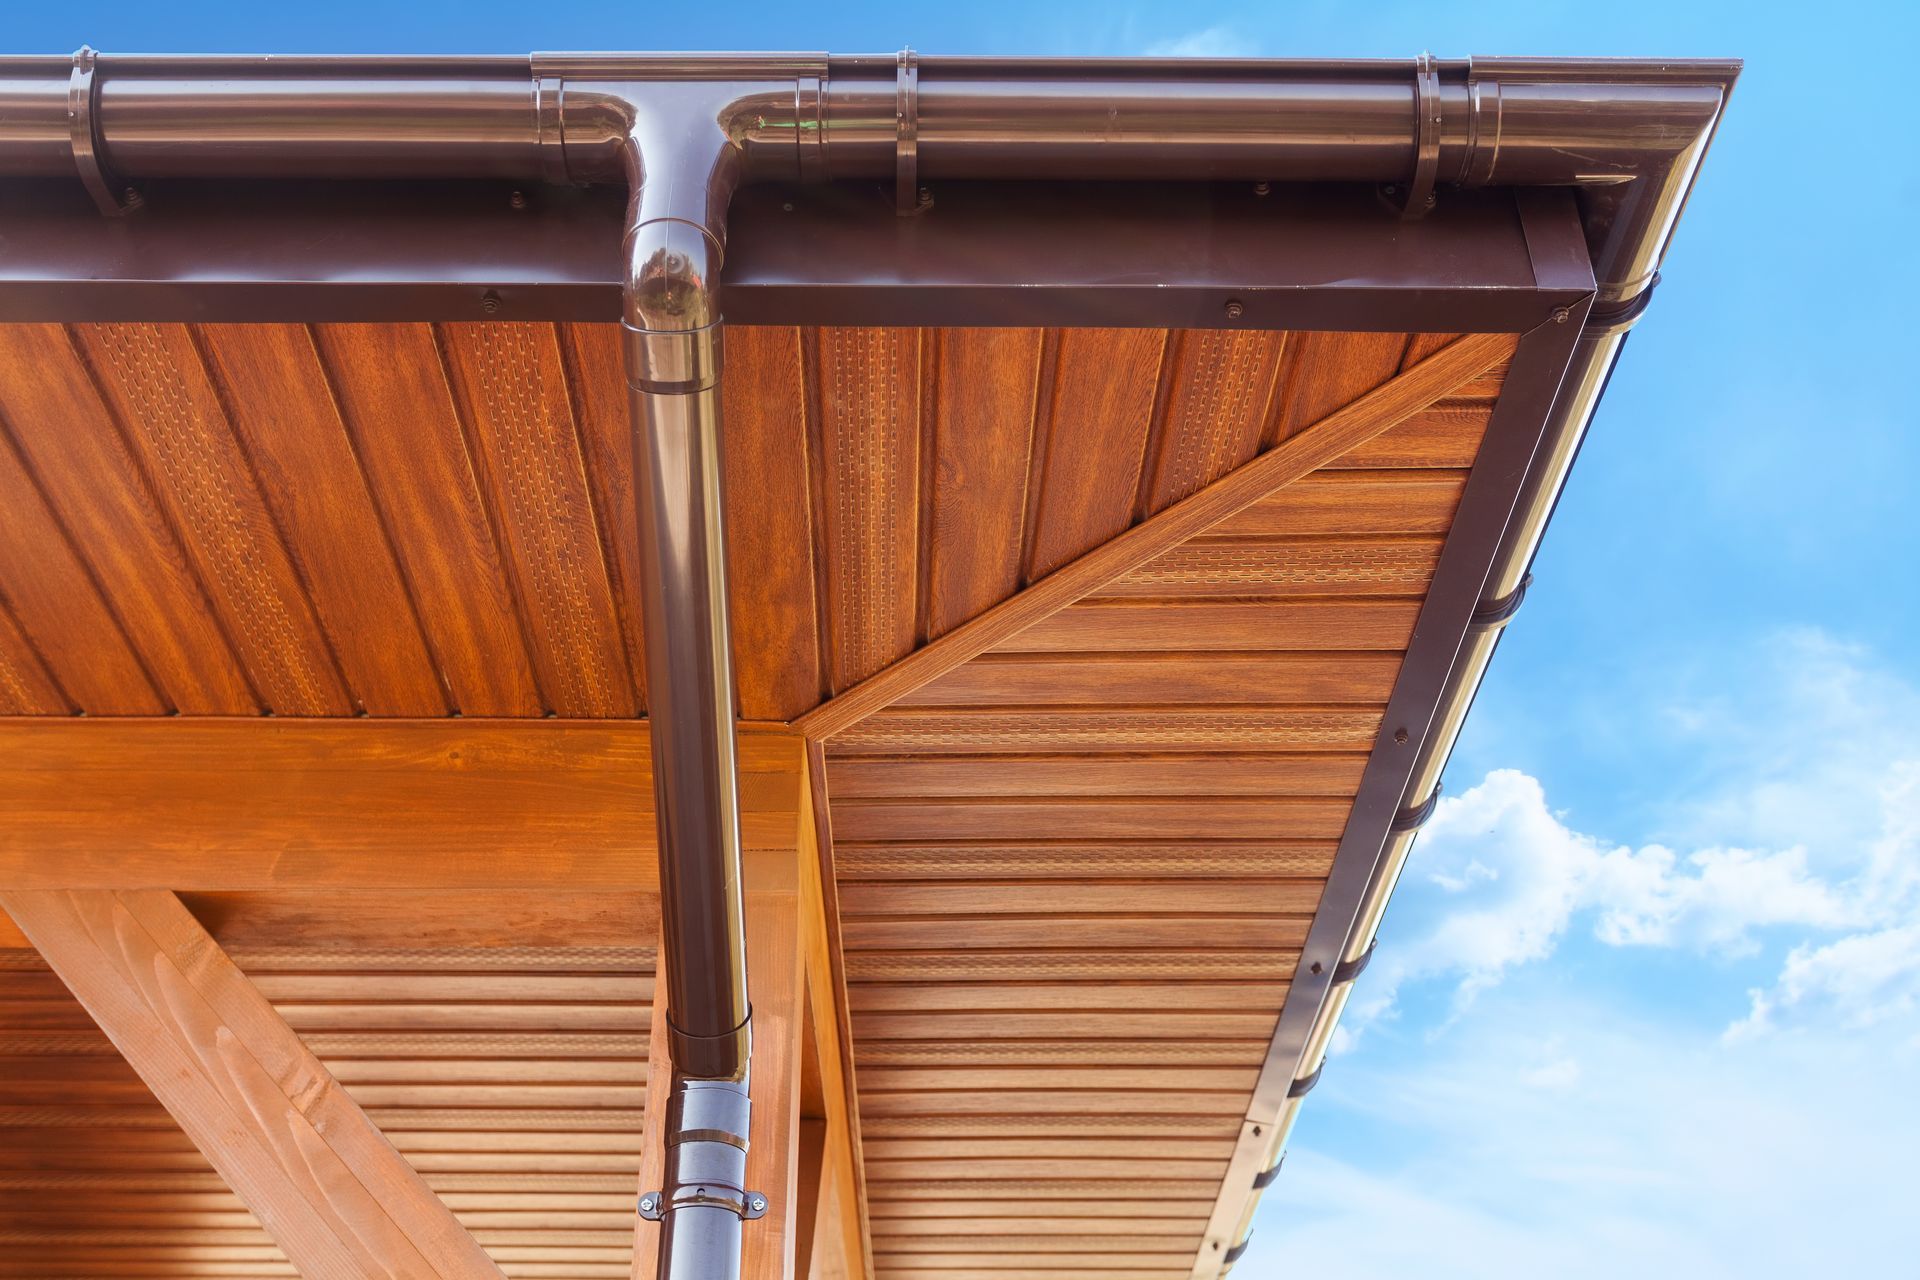
Concentrated runoff and roof-edge drainage can expose problems when metal is misaligned, debris holds water, or the gutter transition sends moisture back toward the deck.
Five Steps From Leak Clue To Rebuilt Roof Transition
Transition leaks are easier to solve when the water path is understood before materials are removed. C&D starts with the symptom, identifies the likely roof detail, opens the area carefully, repairs any damaged substrate, and rebuilds the flashing and roofing in the correct overlap sequence.
Trace The Leak Area
C&D compares interior stains, attic clues, roof geometry, recent weather, and the nearest penetrations or wall transitions to narrow the source.
Expose The Existing Detail
Enough roofing is lifted or removed to see the boot, flashing, underlayment, and deck condition rather than sealing only the visible edge.
Repair The Base If Needed
Soft sheathing, failed underlayment, loose fasteners, or damaged surrounding roofing are corrected before the transition is rebuilt.
Install The Water-Shedding Detail
The flashing, pipe boot, wall transition, or edge metal is integrated so each upper layer sheds onto the lower layer and back over the roof surface.
Test The Finished Water Path
C&D reviews the completed tie-in, surrounding shingles, runoff direction, cleanup, and any connected siding, masonry, or gutter concern.
Localized Flashing Work Still Needs Careful Access And Debris Control
A pipe boot or chimney repair may cover only a small roof area, but the work can involve lifted shingles, cut metal, fasteners, masonry edges, ladders, and temporary openings. C&D protects the ground and exterior surfaces below the repair so a focused leak fix does not create avoidable damage elsewhere.
- Choose ladder and staging points that provide access to the transition without leaning on loose gutters or damaging siding and landscaping.
- Protect windows, decks, planting beds, and hardscape below the work area when shingles, flashing, or sealant are being removed from above.
- Keep removed metal, nails, shingle pieces, and packaging contained instead of allowing small repair debris to spread through the yard.
- Limit the roof opening to the area needed for diagnosis and rebuilding so the deck is not exposed more than necessary during the repair.
- Review the repaired transition and the original leak clues with the owner so the finished water path and any remaining exterior concern are clear.

Flashing And Penetration Repairs Across Ballwin And West County
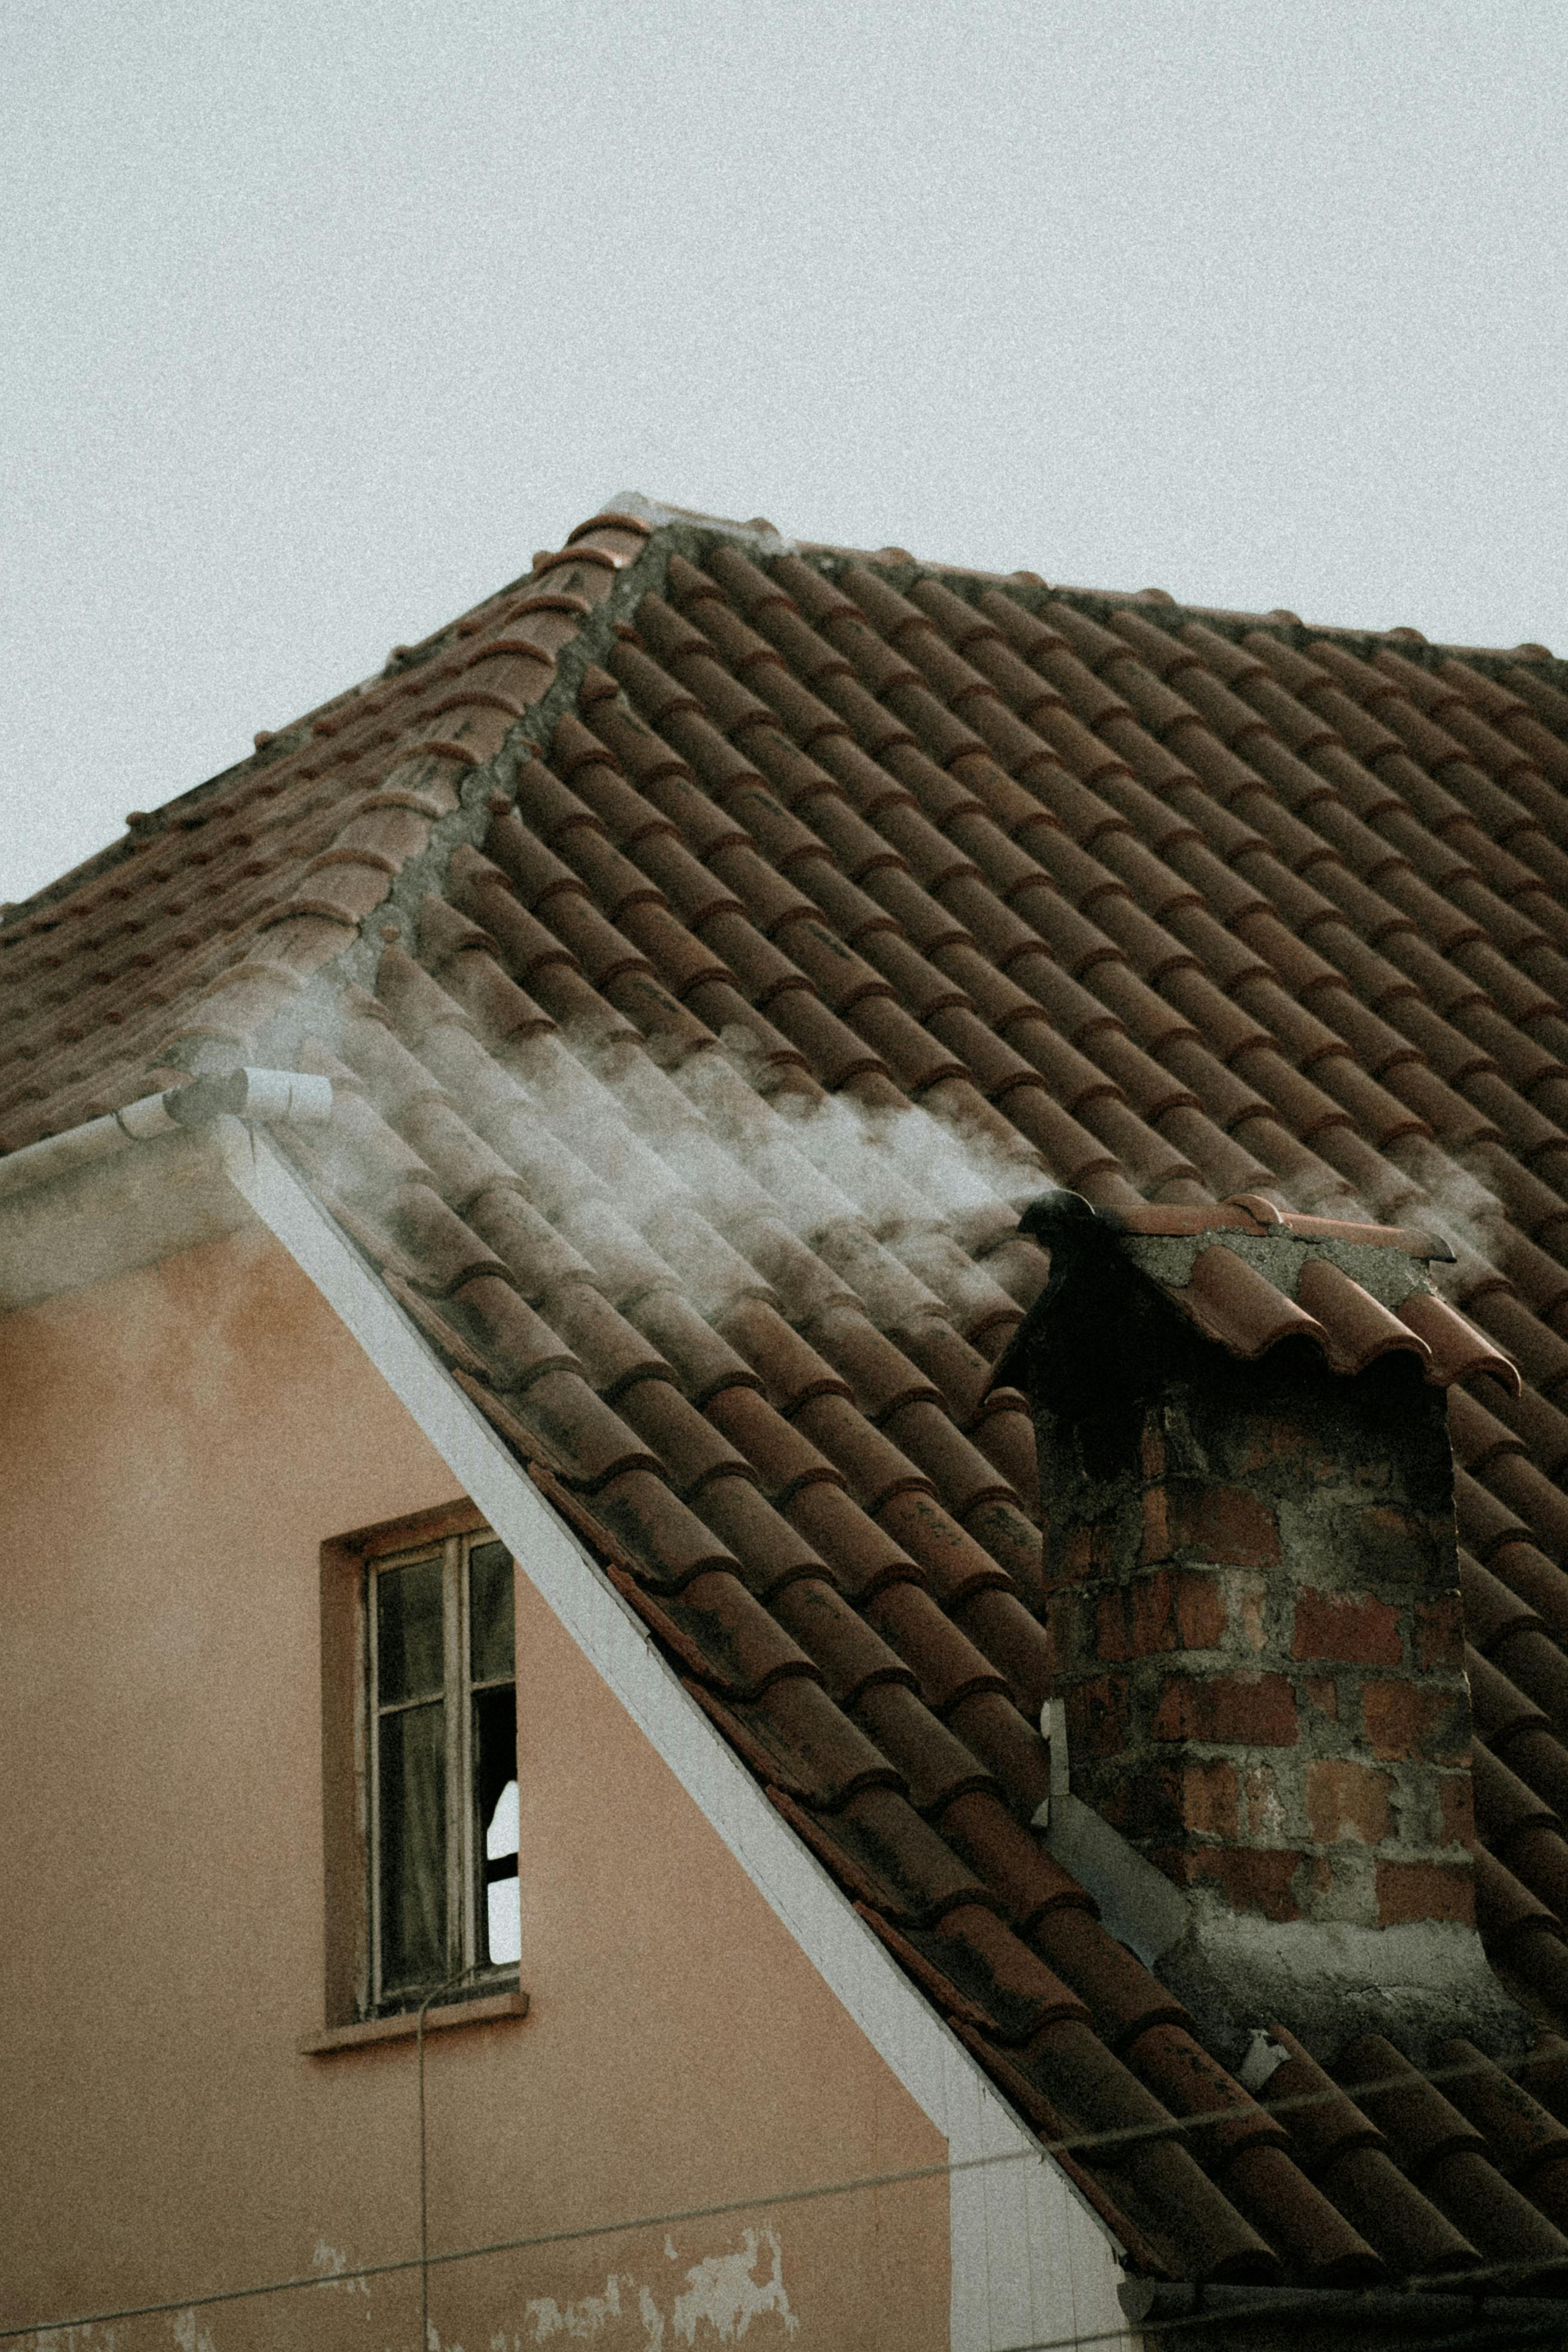
C&D repairs roof flashing and pipe boot leaks near Manchester Road, New Ballwin Road, Holloway Road, Ries Road, Clayton Road, Vlasis Park, and nearby Ballwin neighborhoods. Homes in the area often combine brick chimneys, siding walls, plumbing vents, additions, and tree-shaded roof sections that create many transition points.
A pipe boot leak on a simple ranch roof calls for a different repair than a chimney leak on a steep two-story home or a sidewall leak beside an addition. C&D adjusts the repair to the roof geometry, material condition, masonry or siding connection, and water path found at the property.
Compare Flashing Repair With Roofing And Exterior Follow-Up
A transition leak may stay localized, or it may reveal damaged decking, aging roofing, gutter problems, siding issues, or masonry work at the same location. These related C&D resources help owners understand the connected repair options.
Ballwin Roof Leak Resources
Connected Exterior Services
Questions Homeowners Ask About Leaks Around Roof Transitions
These answers cover pipe boot leaks, chimney flashing, sidewalls, sealant, decking damage, storm effects, gutter connections, repair scope, cost factors, and how C&D approaches a recurring transition leak.
What are common signs of a leaking pipe boot?
Water stains near a plumbing vent, cracked or deteriorated boot material, lifted shingles around the penetration, or darkened sheathing below the pipe can all point to a problem that needs inspection.
Can a pipe boot be repaired without replacing the whole roof?
Often yes, when the surrounding roofing is in repairable condition and the damage is localized. C&D checks the nearby shingles, underlayment, deck, and penetration detail before defining the scope.
Why does chimney flashing leak even when it has sealant on it?
Sealant can age, crack, or cover a flashing detail that was never layered correctly. A lasting repair may require step flashing, counterflashing, masonry work, or nearby roofing to be rebuilt rather than another surface coat.
What is step flashing used for?
Step flashing is installed where a sloped roof meets a vertical wall. Individual pieces work with shingle courses to direct water outward onto the roof surface rather than behind the wall covering.
Can flashing leaks damage roof decking?
Yes. Repeated water entry around a chimney, pipe, wall, valley, or edge can soften, stain, or delaminate the sheathing below. C&D checks the substrate when the leak history suggests hidden damage.
Can wind or hail damage pipe boots and flashing?
Yes. Storms can dent metal, move flashing, disturb surrounding shingles, or damage penetration components. C&D can document storm-related conditions and provides insurance claim assistance when applicable.
Could a gutter problem cause a leak near the roof edge?
Yes. Overflow, loose fascia, poor drip-edge alignment, or water backing up at the eave can wet lower roof components and may resemble a flashing leak. The drainage path should be checked with the roof edge.
Why does a flashing leak come back after caulking?
If the underlying metal, layering, or surrounding roofing is still wrong, surface caulk may only slow the leak temporarily. C&D exposes the transition as needed to rebuild the water-shedding detail.
What affects the cost of flashing or pipe boot repair?
The type of transition, roof pitch and access, amount of surrounding roofing that must be opened, decking condition, masonry or siding work, and material needed to rebuild the detail all affect scope.
How does C&D find a roof leak around a transition?
C&D compares the interior symptom with attic clues, roof geometry, flashing condition, penetrations, and water flow. The goal is to identify where water enters, not simply where it becomes visible indoors.
Recurring Leak Near A Pipe, Chimney, Or Wall? Schedule A Ballwin Flashing Repair Inspection
Call C&D General Contractors when a pipe boot, chimney, sidewall, valley, vent, or roof edge is leaking. C&D traces the water path, checks the deck and surrounding roofing, and rebuilds the transition so runoff returns to the outside of the roof system.